To inspect your air ducts: turn off the HVAC, remove 3-4 vent covers (at least one return and two supply vents), shine a flashlight inside, and photograph what you see. Look for visible debris, dark discoloration (possible mold), pet hair, or construction dust. Bare metal with light surface dust is normal — cleaning is warranted only if you see heavy accumulation or visible mold growth.
This guide walks you through the inspection process room by room, explains what you're looking for, and helps you decide whether to call a professional or skip the expense entirely.
What You'll Need
- Flashlight — a bright one. Phone flashlights work but a dedicated flashlight gives better visibility into ducts
- Screwdriver — most vent covers use standard Phillips screws. Some snap on/off without screws
- Phone camera — photograph what you see so you can review later and share with a contractor if needed
- Optional: inspection camera — small flexible cameras that plug into your phone run $25–$60 on Amazon and let you see 10–15 feet into the duct. This is the single biggest upgrade to a DIY inspection
- Gloves and a mask — especially in homes with suspected mold or heavy dust accumulation
Safety First
Turn your HVAC system completely off at the thermostat before removing any vent covers. If your system is running while you inspect, you risk pulling loose debris further into the ducts or disturbing settled mold spores. Set the thermostat to "off" — not just "fan only."
If you find black or green fuzzy growth during the inspection: Stop. Take photos. Don't disturb it further. This is likely mold and requires professional remediation, not DIY cleaning. Disturbing mold releases spores throughout your home.
Room-by-Room Inspection Guide
Supply Vents (Where Air Blows Out)
Supply vents are typically on walls near the ceiling or in the floor. They have angled slats that direct airflow. For each supply vent:
- Remove the cover (unscrew or unclip)
- Shine your flashlight into the duct opening
- Look at the inside surfaces of the duct for the first 12–18 inches
- Take a photo with your phone camera using the flash
What you want to see: bare metal or a light coating of fine dust on the duct surfaces. This is normal in a maintained home.
Return Vents (Where Air Gets Pulled In)
Return vents are usually larger — often 12x24 inches or bigger — and located lower on walls or in ceilings. They pull room air back to the HVAC system and have no adjustable slats. Returns accumulate more visible debris because they're sucking in room air continuously.
Visible dust on the face of return grilles is normal and is not an indicator that your ducts need cleaning — it's just surface dust on the grille itself that you can wipe off. Look past the grille into the duct interior for actual buildup.
Floor Registers
Homes with floor-level registers (common in older construction with gravity-fed systems) are the most prone to debris accumulation. Dirt, pet hair, coins, and even small toys fall through floor registers. Shine your light straight down and look for accumulation at the bottom of the duct. More than a light dust coating is meaningful — especially pet hair, visible debris piles, or any dark staining on the duct walls.
What You're Looking For
Normal: Light Dust Coating
A thin layer of fine dust on duct surfaces is normal in any home. Dust settles on all surfaces including duct interiors. This alone is not a reason to clean your ducts. The EPA's own guidance states that light dust in ducts does not significantly affect indoor air quality and does not warrant cleaning.
Concerning: Heavy Debris Buildup
Visible accumulations of debris — pet hair, dust bunnies, insulation fibers, construction dust — that are thicker than a few millimeters suggest meaningful buildup. This is especially significant if you can see it without a camera, which means there's likely much more debris further back in the system.
Serious: Dark Staining or Discoloration
Dark gray or black streaking on duct walls can indicate either heavy dust accumulation or mold. The difference matters: heavy dust looks uniform and powdery. Mold tends to be fuzzy or slimy in appearance and may have a musty smell even when your HVAC isn't running. When in doubt, take a close-up photo and consult a professional before disturbing anything.
Serious: Visible Mold Growth
Fuzzy, powdery, or slimy growth in green, black, white, or gray colors is likely mold. As noted above: stop, photograph, and call a professional. Do not run your HVAC until the situation is assessed. Mold in ductwork requires professional remediation, not standard cleaning.
Serious: Pest Evidence
Droppings, nesting material, dead insects, or the smell of urine indicates rodent or insect activity in your ductwork. This requires immediate professional attention — both for pest control and for sanitization of the affected ducts.
The smell test: Run your HVAC normally for a few minutes before you start your visual inspection. A musty, earthy, or stale smell that appears specifically when the system turns on (and dissipates when it turns off) is one of the most reliable indicators of a duct problem that warrants professional assessment.
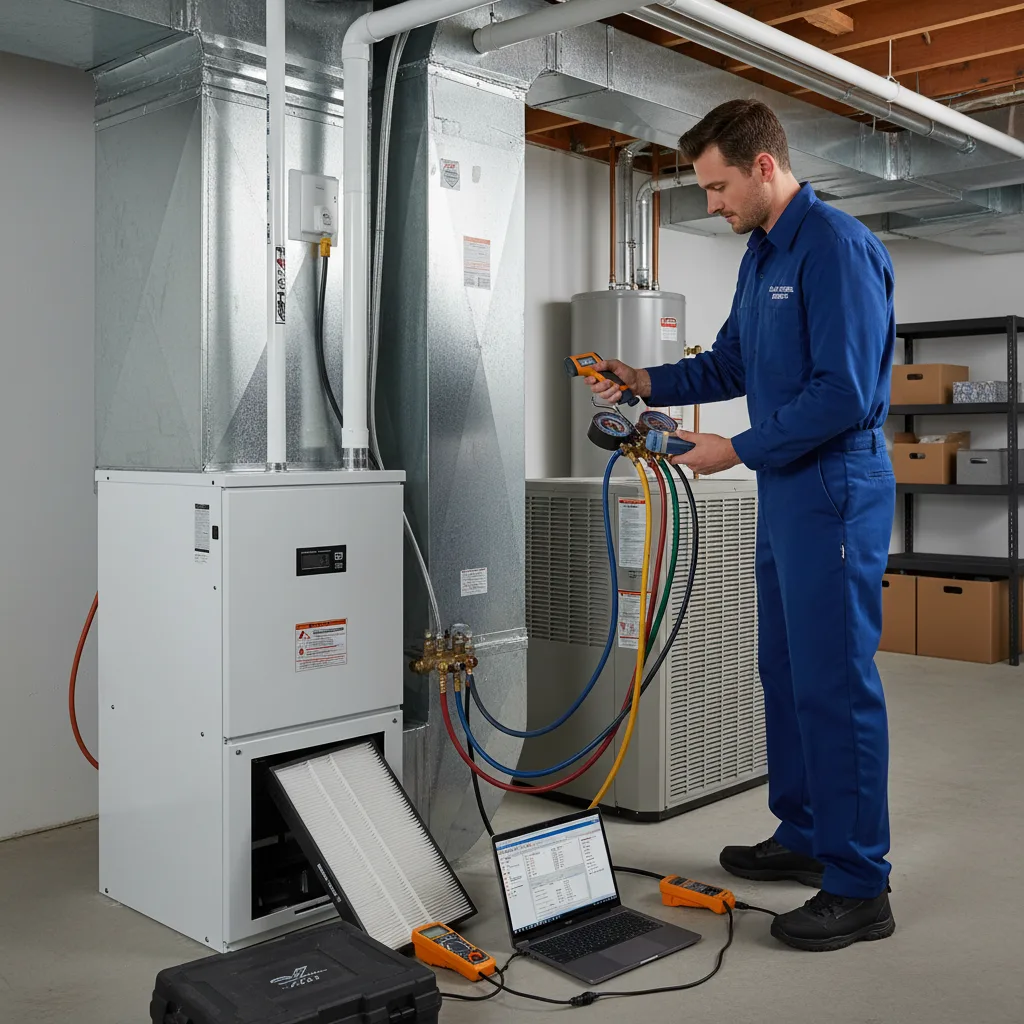
Checking the Air Handler and Blower
The air handler is where your HVAC system's blower, evaporator coil, and filter all live — usually in a closet, attic, basement, or utility room. This component shows you the most about overall system condition.
- Pull your air filter — hold it up to light. A filter that's been in place for 90 days should show moderate dust accumulation but still have visible light passing through. A completely black, clogged filter that blocks light means your system has been running without adequate filtration, pushing debris into the ducts
- Inspect the blower fan (if accessible) — remove the access panel and look at the blower wheel. Dust accumulation on the fan blades reduces airflow and system efficiency. Heavy coating indicates years of inadequate filtration
- Check the drain pan — a small plastic pan under the evaporator coil that catches condensate. Standing water, rust staining, or visible algae growth indicates a drainage problem that creates mold-friendly conditions inside the air handler and ducts
DIY Inspection vs Camera Inspection vs Professional Inspection
| Type | Cost | What You Can See | Best For |
|---|---|---|---|
| DIY visual (flashlight) | $0 | First 12–18 inches of each duct | Initial screening, obvious problems |
| DIY with camera ($25–$60) | One-time purchase | 8–15 feet into ducts | More thorough self-inspection, documenting condition |
| Professional camera inspection | $75–$150 | Full duct runs with video documentation | Before major cleaning, suspected mold, buying a home |
| Full professional cleaning | $300–$600 | N/A — cleans, not just inspects | When inspection confirms significant buildup |
When to Call a Professional
Based on your inspection, call a professional if you find any of the following:
- Visible mold growth on any duct surface or air handler component
- Pest evidence — droppings, nesting material, or live/dead pests
- Collapsed or crushed flex duct visible at supply vents (you can often see this from the register opening)
- Heavy debris accumulation — visible debris deeper than a thin dust coating in multiple locations
- Clogged drain pan with standing water or significant algae growth
- 5+ years since last cleaning combined with pets, recent renovation, or allergies/asthma in the household
- Strong musty smell that correlates with HVAC operation
If your inspection reveals only light dust, clean duct surfaces, and a clear drain pan — you probably don't need professional cleaning. Replace your filter, check it again in 90 days, and save the cleaning budget for something that actually needs it.
Are You an HVAC Contractor?
GoHighLevel helps HVAC and duct cleaning companies manage leads, automate follow-ups, and grow revenue. Purpose-built for home service businesses.
Try GoHighLevel Free for 14 Days →Not Sure What You Found? Get a Free Quote
We'll match you with 2–3 vetted local pros who can give you a second opinion.